Dry Plate Photography

Characteristic Curve Control


 Site Index 

'Perhaps no art, science or craft has evolved by such an extraordinary combination of pure science, pure witchcraft, and wishful thinking as that which constitutes the popularly accepted procedures in photography.  In the development processes above all others, weird mumbo jumbo persists and flourishes.'

Ansel Adams, The Negative,1948, p67.

   Variations on Pancho, side-by-side on a light table.

Be it art, science, or magic, there is a wonderful amount control of density and contrast possible with the old emulsions.  I'm currently working with a simple matrix combination of two emulsion recipes and four developers.  It is my goal to make a well-exposed plate, no matter the lighting circumstances, and then print that plate on a custom complimentary paper/developer combo, resulting in a final print that reflects my original visualization.  Dream Big!

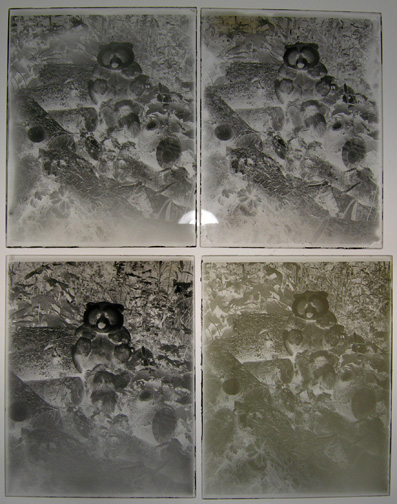
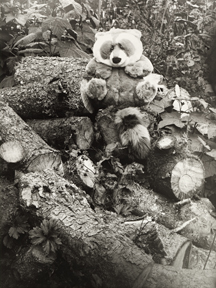
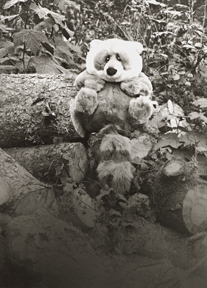
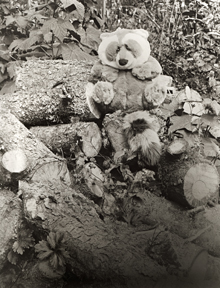
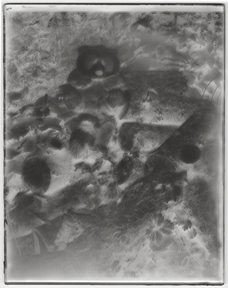
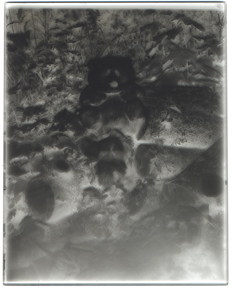
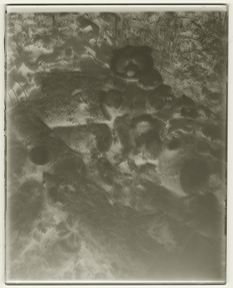
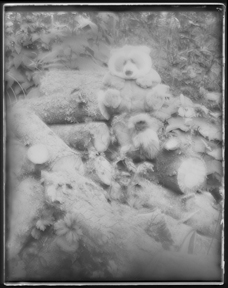
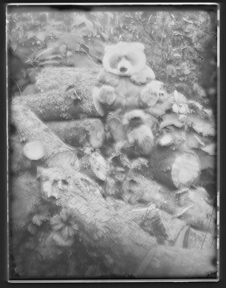
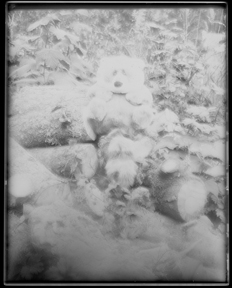
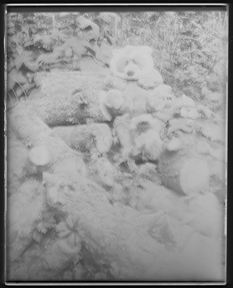
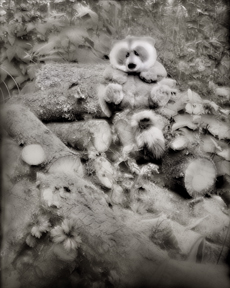
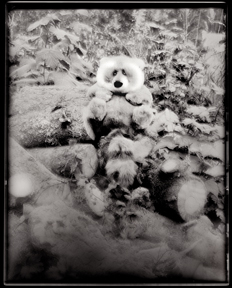
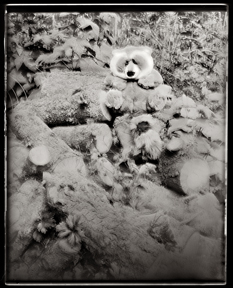
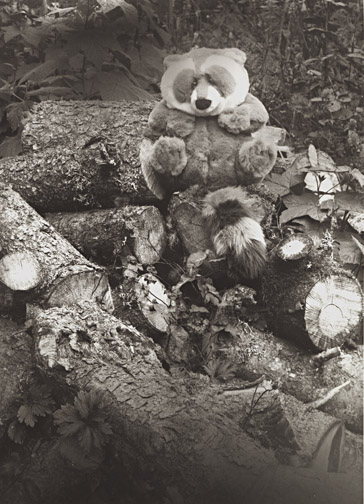
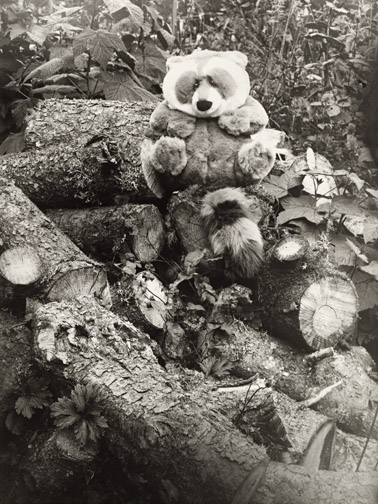
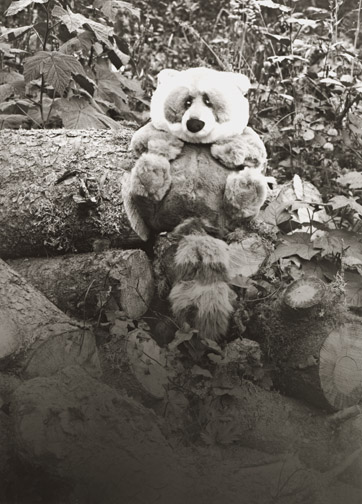
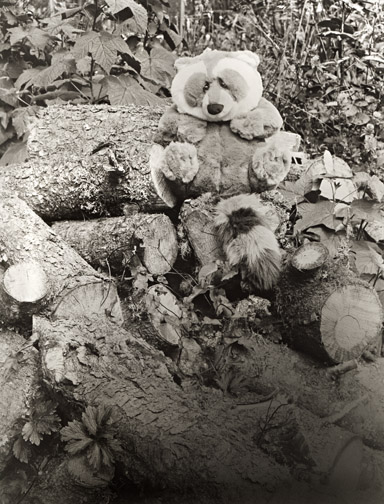
The concept of curve control has been known by every photographer who has ever shot b&w sheet film: 'Expose for the shadows and develop for the highlights'.  By adjusting the length of exposure and the time of development, you can control the appearance and printability of your plates.   The following four Panchos illustrate this idea.


Handling the Light
All plates were made in a 4x5 inch Zone VI field view with a modern, coated 150mm lens.  The four top images are the flatbed-scanned dry plates.  The images below them are their corresponding positives, flipped and inverted with no other Photoshop manipulations.

From the left:  

  1. 'Pancho #1'. 'TLF  1': July, mid-afternoon, bright overcast, facing east.  8 seconds at f/22.  5 minute development in 'Def 55dwr'.

  2. 'Pancho #2'.  Same batch of emulsion, exposed right after #1 and with the same lighting conditions.  5 seconds at f/22.  8 minute development in 'Def 55dwr'.

#2 is a little thin in the shadows, but the highlights look good.  If I had simply increased the exposure and left the development unchanged, the highlights would likely have become blocked and hard to print.  By increasing the exposure and pulling the development time, the shadows filled in while leaving the highlights unchanged.

  1. 'Pancho #3'.  Exposed early on a July morning, facing east.  The weather was a heavy overcast, almost to the point of fog (i.e. pretty typical summer a.m. Oregon beach weather).  I gave the plate a full 20 sec exposure at f/22 and six minute development in 'Def 55dwr'.  The emulsion at the bottom of the plate was a little thin, but it's still a beautiful plate - if anything, a bit dense.  Note an important fact here:  The image is NOT true to reality.  There is no indication that it was dark enough outside that I had all the lights on in the house.  Since this is a common lighting condition for me to have to deal with, I'm very glad to have the creative control.  Nevertheless, if I had wanted to convey the dark, flat conditions that actually existed, I would have decreased both the exposure and development.   When I get past the testing part of things, and I'm not trying to squeeze a dozen different ideas into one batch of plates, I will do what I have always done with film — bracket.

  2. 'Pancho #4'.  This was the opposite lighting condition from #3:  Bright, mid-afternoon July sunshine.  I used PMK Pyro, which I have decided is a very slow developer.  But, it does cut the contrast.  The paradox of this image is that although the sun was blazing, I exposed the plate for 20 sec at f/22 and developed for 10 minutes in the PMK.   The luminance and sense of brightness is preserved, while the harsh contrast is controlled.
Above: Digital prints from the flatbed-scanned plates: Pancho #'s 1,2,3, and 4.

Photoshop manipulations were restricted to an unsharp mask, 'curves' and selective use of the 'burn' (shadows) and 'dodge' (highlights) tools.  It's interesting how digital prints from scanned plates are different from prints made in an enlarger.  The physical differences of the processes affect the appearance.  Except for the value-rendering idiosyncrasies of a 'color blind' emulsion, the enlarged prints would be hard to distinguish from an enlargement of modern film.  The scanned plates, on the other hand, are seriously 'different'.  The light has bounced around in the glass, causing an almost infrared look, and the halation artifacts are far, far more visible than in the enlarged prints.

Below: Enlargements of the same plates.  Zone VI enlarger, Ilford Multigrade FB glossy, Agfa 108 high contrast paper developer.   Pancho #3 would have been better printed with a standard contrast developer, but I wanted to keep things as comparable as possible.
#1 #2
#3 #4


Copyright © The Light Farm