Dry Plate Photography

Tools and Materials


 Site Index 


Working with old cameras is the perfect synthesis of antique collecting, bargain hunting, and the home fix-it shop, with a bit of Rube Goldberg thrown in for good measure.

Besides the items shown here, it's handy to keep a toolbox with misc. small screwdrivers, drafting tape, wooden toothpicks and popsicle sticks, paraffin canning wax, metal polish, leather conditioner, clear polyurethane and a set of small files and the smallest nail set punch you can find.  And, last, but never least, duct tape.

Plate Holders

4"x5", 5"x7", and 8"x10" plate holders are easy to come by on ebay or on the sales forum at www.largeformatphotography.  But if you have a good supply of old wooden holders, they are easy to retrofit for plates.  Also, old film holders are less expensive than plate holders if you are a d.i.y. type.


Plate holders aren't much different from film holders.  There are three main versions, from the left: 1) the glass slips in under a lip at the top and is held in place by the hinged bottom piece, 2) the hinged bottom piece is replaced by a spring-loaded 'plate pusher', and 3) the hinged bottom is replaced by a clip on a spring.  (The old, now-tarnished plates were still in all these holders.)

Close ups of the mechanisms of 2) and 3).

It is easy to convert an old wooden film holder to a plate holder.  The three stages are shown below. From left to right: 1) a wooden film holder with a metal septum and metal top pieces held together with rivets or screws.  2) the same style holder with the rivets carefully popped out (use a small nail set and hammer), and the metal top plates and one septum removed, and  3) the final conversion: metal top plates put back on, any cracks in the wood have been glued and clamped until dry, the wood has been sanded and stained with Minwax 'ebony', and the plate cavity brought up to the original film plane with a piece of foamcore board spray-painted 'semi mat' black. The dark slide on the other side as been glued closed.  Note that different film holders are slightly different in thickness.  Some will only need a piece of 4-ply mat board, painted black, to bring the cavity to the right height. What you are aiming for is that when your glass is laid in, the top surface is level with where the film would have been.

 
A crop of the top inside of the holder.  The black felt or velvet is what keeps light out when the dark slide is pulled out.  You want this in good shape, or you will want to replace it.
All of the above is pretty obvious once you start taking apart a film holder.  One last trick that makes everything work is to cut off the inside flange on the hinged flap.  You can still leave enough of a groove to catch the dark slide, yet have the top flange the plate 'holder-downer'.  On the left is an unaltered hinge.  On the right is the bottom flange cut off, using a metal straight edge and a utility knife.

Below are two sides of the same old holder — before and after TLC.  Of course, there's no reason to change the cosmetics of any of the old stuff, as long as they are functional.  It's actually pretty cool to see the history of a piece and feel like you're part of it.  I try to leave alone names that have been written on the holders.  Also, the 'antique resale value' can go down if there's been too much refinishing.  I don't worry too much about that aspect.  I like to think the dear old things would rather be repaired and used than sit on a shelf.


The easiest of all conversions in an all-wood holder.  Just cut away the thin wood film guides of the edge and the bottom flange on the hinged bottom.


Be sure to only cut away the flange.  Leave enough groove to catch and secure the dark slide.  Old glass was a little thinner than modern framing glass.  If the fit is a bit tight under the top edge, remove some wood with a piece of folded sanding paper or a small metal wood file.

There are a couple of gotcha's to look out for when you're shopping for old goodies.   'Whole Plate' size 
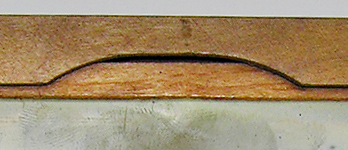
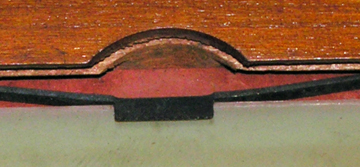
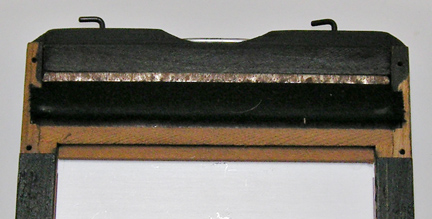
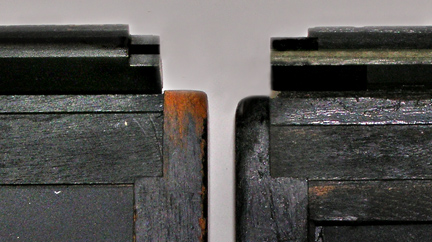
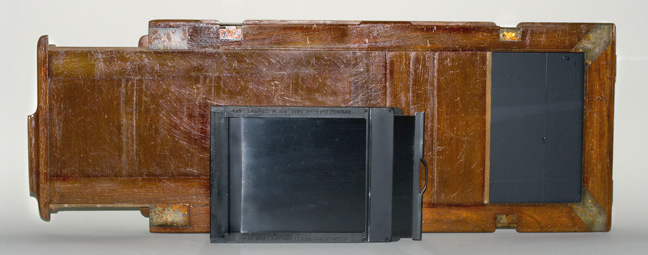
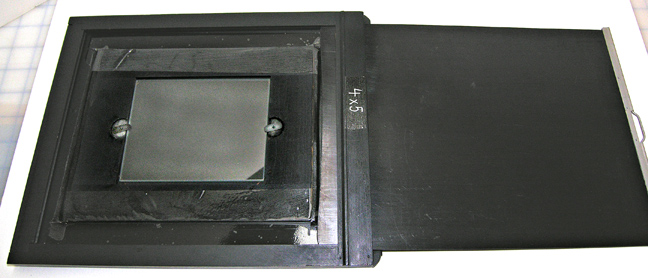
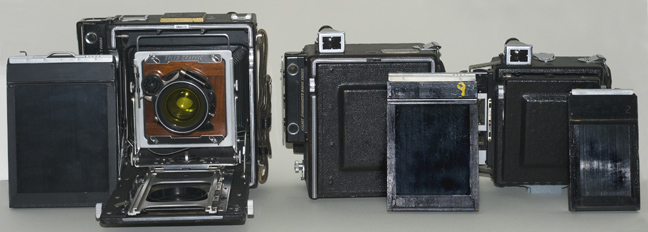
(6.5"x8.5") camera holders apparently were never standardized.  I have a beautiful old Whole Plate holder, in perfect condition that doesn't fit in my Century camera.  It's only off by an 1/8-inch, but that's enough to make it unworkable.  I think I can carefully plane off the edges, but I haven't bitten that bullet yet.

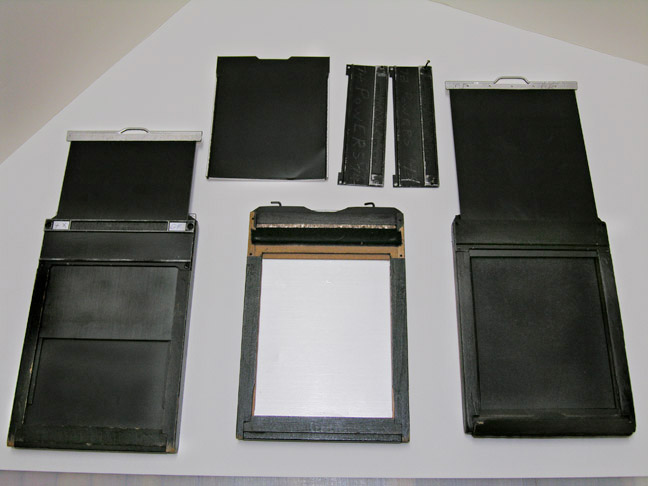
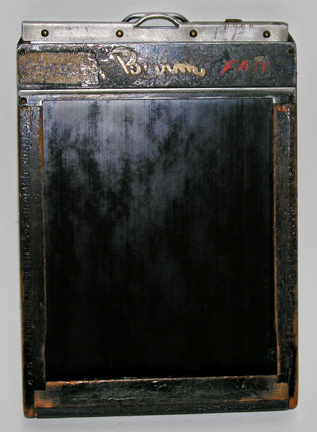
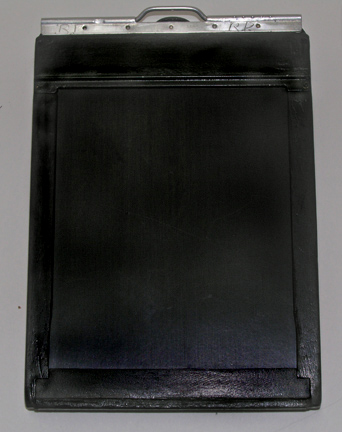
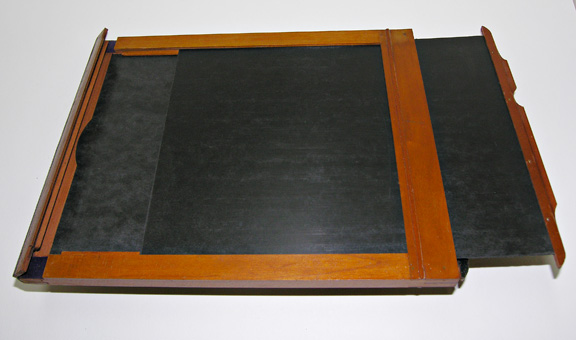
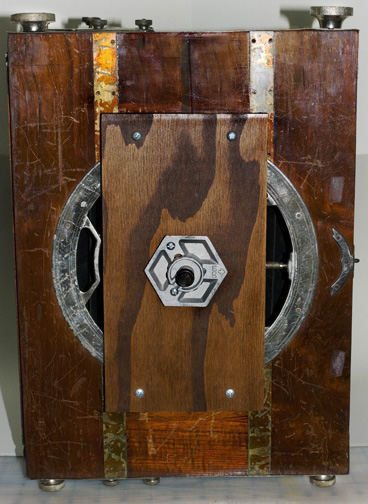
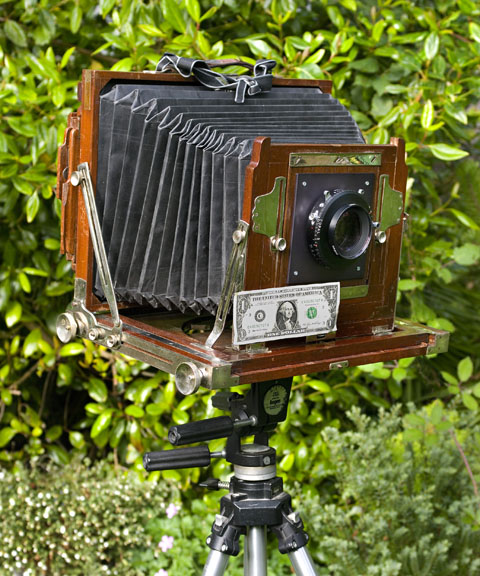
Second, when you're buying old cameras on ebay, etc, pay careful attention 
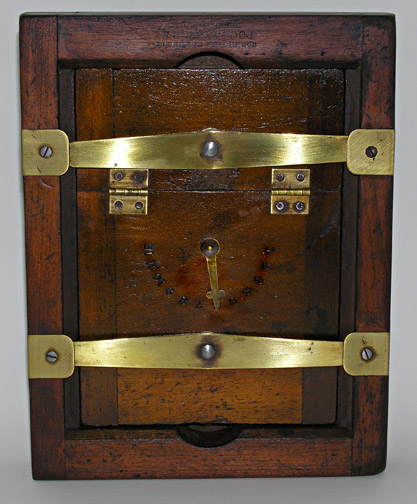
to the back.  Many of the really old ones have a swinging door for book-style holders, rather than the spring-loaded back most of us are probably more familiar with.  The book-style holders are very hard to find and almost always idiosyncratic to one particular camera.  You'll really want to buy a camera that has at least one holder included.  And often, it is only one.  
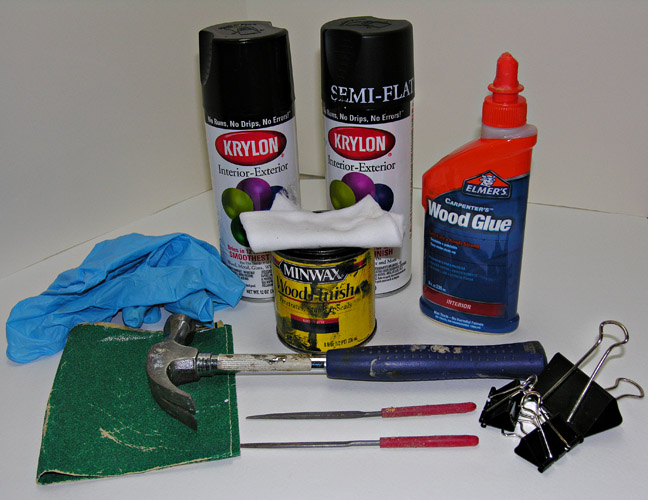
In this case, you'll want to have a large film changing bag.   Carry your supply of dry plates, individually packaged in protective sleeves, with these in turn in a lightproof bag or box.  After you expose the plates in your holder, reload a new set of unexposed plates inside the changing bag.   B&H Photo has a good selection of bags.

I have heard that it's possible to retrofit a door-style back for a modern spring-back.  It's easy to visualize, but I hadn't given that one a try yet.


The back of a hundred-year old Indian panorama camera, with its hinged door for inserting a plate holder.

The camera's holder compared to a 4"x5" standard holder.
And, a close-up of the insertion tabs that lock in the holder.


The bottom of the panorama camera, adapted for a Bogan quick release pressure plate.  The camera has an old, funky tripod mounting system.

Exposure Testing

No one wants to waste a big dry plate on an exposure test, but the tests are necessary.  Fortunately, the old-timers thought of this.  They devised inserts for the big holders that let you use a smaller plate (usually 4"x5").  This is also a good way to shoot different formats with one camera.

The adapter fits in like a plate.  The smaller plate is held by small tabs.  They block exposure, but the plate will fall out otherwise.

If you have trouble finding old adapters, never fear.  A few of the ones I've found were obviously handmade.  They are typically thin balsa wood, painted black with various kinds of tabs to keep the plate from falling out.  A trip to the hardware store will net you all the materials.   If all else fails, there's always duct tape!  The only thing that is fussy is that the small plate lies on the same focal plane as a full-size plate would .  Also, draw an outline on your ground glass to make sure you are composing to fit the borders of the smaller plate.


Contact Printing Frames


Modern, new contact printing frames (at least the ones I can find) don't work for printing dry plates.  They are made a little bigger than standard sheet film sizes to accommodate the modern aesthetic of an unprinted paper border around the printed image.  Dry plate printing frames are precisely the size of a plate.  The plate sets in just like the glass in a regular contact printing frame.  The emulsion side of the plate is pressed into contact with printing paper, either for the developing-out or printing-out processes.  The back of the frame is hinged to allow inspection of P.O.P.  exposure progress, but a hinge isn't necessary for timed, developing-out paper.

If you can't find an old contact printing frame, it's easy to make one of the standard sizes.  Go to a good discount frame supply store and start looking for a sturdy, wooden picture frame with a strong backing material like masonite.  Take along one of your plates to make sure the fit is good.  You can use thick strips of stainless steel (or a cut down steel ruler) as the presser arms.  Depending on the style frame, you may or may not need a center bolt to hold the arms, and you may or may not need to add steel washers at the edges to secure the arms so that they can press the back firmly and evenly into the paper/glass plate sandwich.  A piece of clean, heavy black felt can be cut-to-size and laid on the back of the paper to supply an extra bit of even pressure.

My 5"x7" printing frame shown here came off ebay.  It must have been in a barn for decades.  It was filthy to the point of being unusable.  It took the most part of a week, an hour here and there, to sand it, take off the old felt backing, wash that and re-glue it, polish the beautiful heavy brass fittings, and give it a coat of polyurethane.  I was very happy with how it turned out — for $6.10 plus shipping.


Cameras and Lenses


Above: Three Speed Graphic cameras: 4"x5", Quarter Plate, and 6x9cm.  Press cameras are the easiest and cheapest way to get into large format photography in general and dry plate in particular.  Graflex cameras often come with all the goodies, lensboards are readily available and plate holders or convertible wooden film holders are everywhere.  I highly recommend starting out this way.
Below are a couple of my treasures, a hundred-year old Indian 6"x15" plate camera and a Kodak Century Whole Plate camera that was used by an army photographer in Europe during WWI.  I got his whole photographic estate, with pictures of him and by him — both old negatives and glass plates. Someday soon, I will dedicate a section of this website to his story.  Photography is also about the photographer.

Playing with old photographic equipment is a game of mix and match.  Very few cameras come with all the equipment that might have originally 'been in the box'.  Lensboards weren't standardized and it's often a hard thing to find more than one that fits like it should.   There are ways around the issues besides finding a custom woodworker.  They aren't always pretty ways, but function counts for something.


You can attach a new lensboard to an old lensboard.


Or, you can prop in a lensboard that's just barely too small.  If you remove the two outside screws from the top lensboard bar, you can slide metal tie strips under the bar to secure the board.


Synthesis


A 4"x5" portrait of Pancho made with a 1800's Petzval lens (15 inch, f6.7) propped into a 1900's Century Whole Plate camera fit with a format adapter.  The plate was photographed with a 2000's digital camera and displayed on a computer screen.  It's a marvelous world.

HAVE FUN!


Copyright © The Light Farm