
Even with perfectly smooth edges, few finished plates will look
exactly like a piece of commercial film. I think this is something to
celebrate. Consummate craftsmanship can still show the hand of the artist.
Contact printing is a way to go. Everything shows, warts
and all. That's part of the attraction of a handcrafted print.
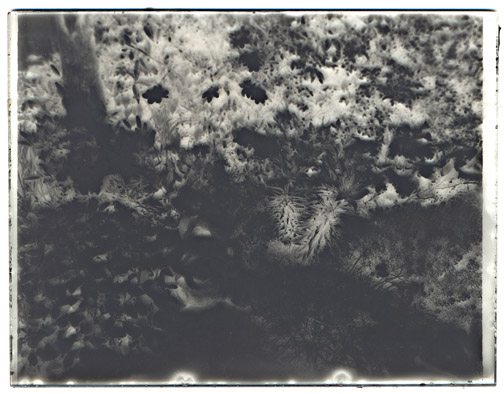
What usually happens with dry plates is a slight emulsion thinning
around all the edges. These thin areas naturally print out
darker, making a natural border around the print, masking for the most
part any flaws around chips.
This print is do-it-yourself from start to finish. The dry
plate was contact printed on handmade baryta paper
('Warm ♥ Emulsion'
coated on Rives Lightweight watercolor paper coated with 'TLF Baryta'.
(here).
|
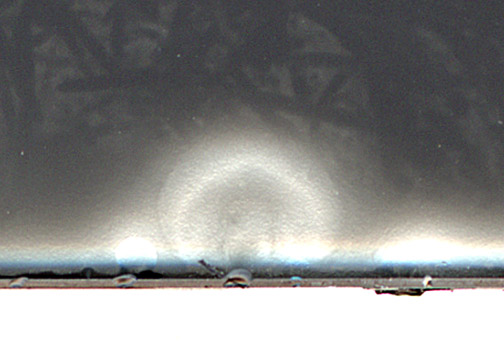
 Emulsion has a tendency to pull away from the edges of the plate, even
if the glass is clean. This is rarely a problem. Edge chips
are another matter. Note the bottom edge of this dry plate and
the close-up of one of the chips in the next illustration.
Emulsion has a tendency to pull away from the edges of the plate, even
if the glass is clean. This is rarely a problem. Edge chips
are another matter. Note the bottom edge of this dry plate and
the close-up of one of the chips in the next illustration.


 This piece of glass has a raw, snapped edge (left) and a smoothed edge.
A smooth, rounded edge is easy to achieve by hand. An excellent
way is with a set of 3M Diamond Pads in five mesh sizes. Start
with black (120 mesh) and move through all the grits — Red (200),
Yellow (400), White (800) and Blue (1800). The edge will end up
baby butt smooth in only a couple of minutes. You can sand the
plates either wet or dry. Either way, wear vinyl, latex or nitrile
gloves. If you work dry, wear a dust mask.
This piece of glass has a raw, snapped edge (left) and a smoothed edge.
A smooth, rounded edge is easy to achieve by hand. An excellent
way is with a set of 3M Diamond Pads in five mesh sizes. Start
with black (120 mesh) and move through all the grits — Red (200),
Yellow (400), White (800) and Blue (1800). The edge will end up
baby butt smooth in only a couple of minutes. You can sand the
plates either wet or dry. Either way, wear vinyl, latex or nitrile
gloves. If you work dry, wear a dust mask.
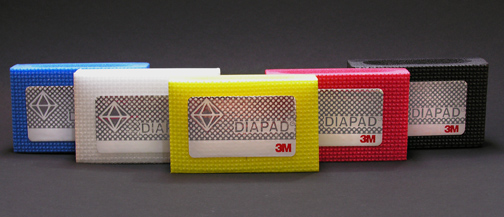 The 3M pads are available individually or as a set. Follow the 'Hand Tools' link at the top of