Getting to Know "TLF-X2Ag" Emulsion
February 5, 2012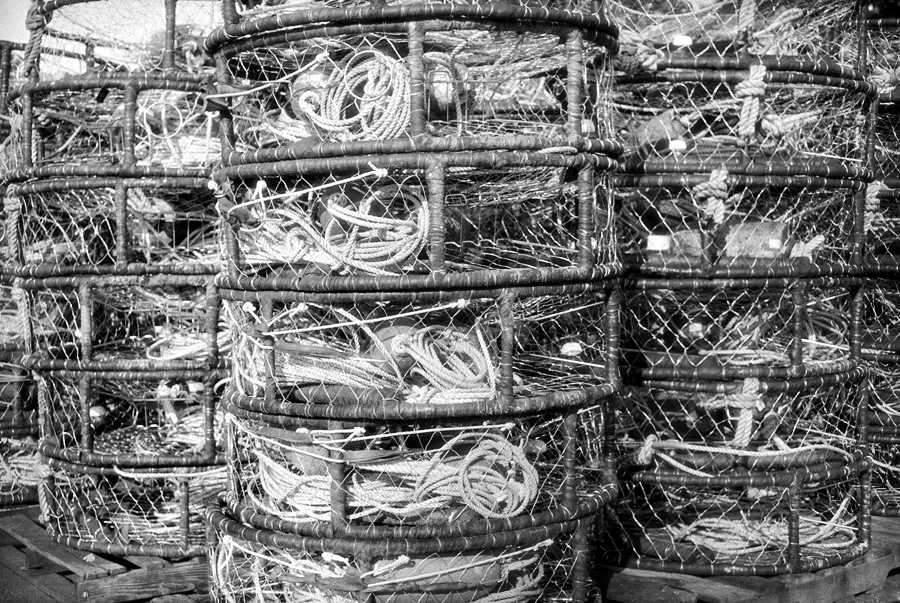
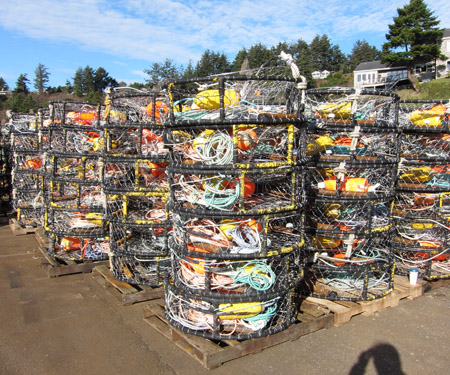
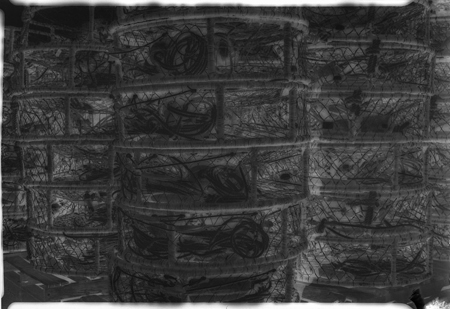
Crab Traps, Newport, Oregon.
Baby Graphic negatives (2¼ x 3¼ inches)
I still haven't found an official name for the technique of running the salts into the silver (as opposed to the far, far more common technique of the opposite), so instead of just slapping a "v.#2" on it, the emulsion previously known as TLF-Ortho, v. #2 is becoming TLF-X2Ag.
The emulsion is sensitized for an orthochromatic option, but can be shot as colorblind, which is what all (but two) of the images on this page were.
The emulsion turns out to be a lot faster than I had assumed just last week. Either I was misled by the trial, or the UV light is increasing by the day as we move into Spring. Probably a bit of both. By default, I ended up with a test of "pulling" potential. Everything I shot on Thursday was overexposed. My best guess is that the correct exposure at f/11 would have been ½ or ¼ second (give or take—depending on the developer). This emulsion is going to be FAST come summer.
Another piece of good news about the emulsion is how malleable its charactistic curve is.
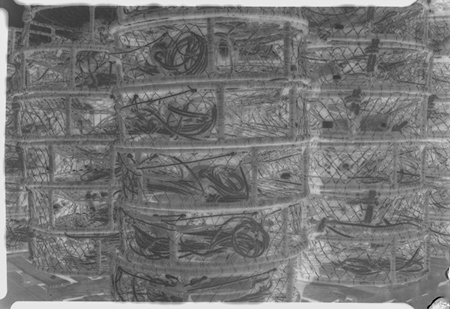
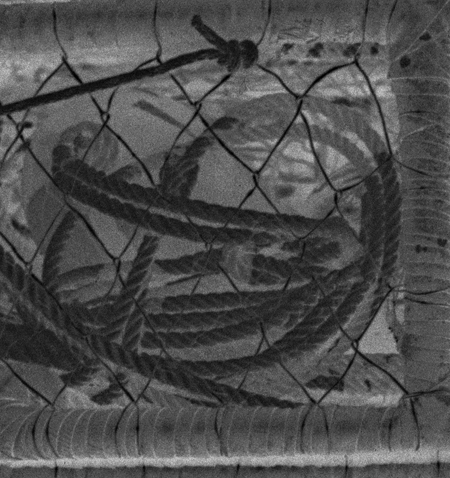
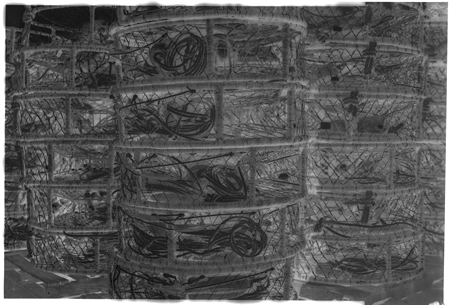
I stuck with two developers for the tests—my adaptation of Defender 55D (straight stock, no BZT) and D23 (* recipe below). The negative above was shot at f/8 and 1 sec, and developed in Defender for 1½ minutes. The negative below-left was f/11, 1 second, and Defender for 5 minutes. Below-right was f/5.6, 1½ seconds, and Defender for 3½ minutes.
All the the negatives give a good print with a bit of Curves in Photoshop. But, it is important to be able to control the characteristic curve of a negative as exposed and developed if your the goal is contact printing. Different processes require different negatives. I can't even imagine all the time and play-work that could be put into developer tests. Pyro? Techpan developer? XTOL?
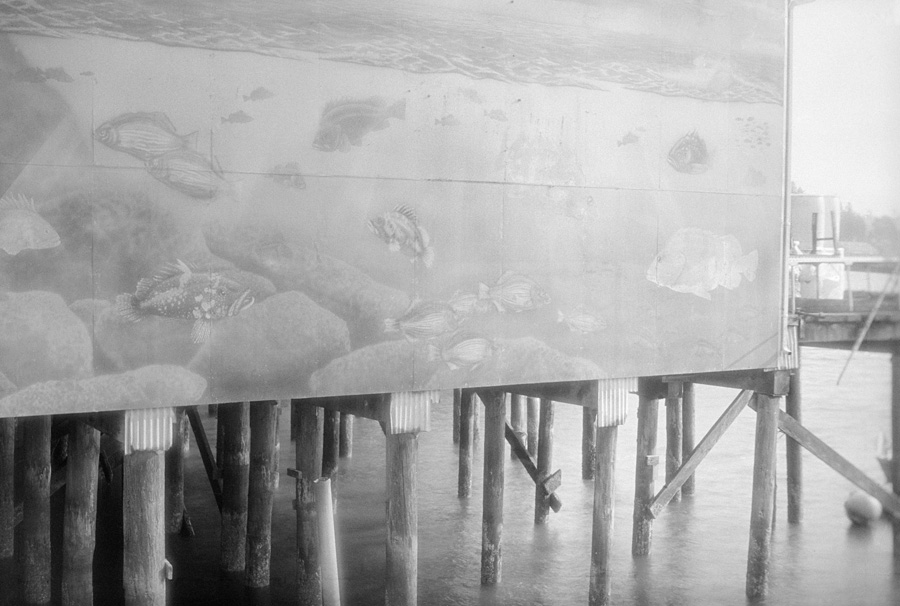
Bayfront Mural, Yaquina River Harbor.
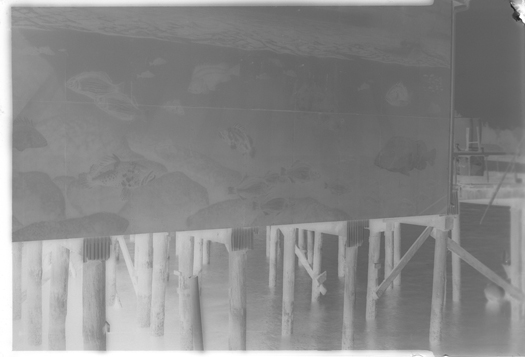
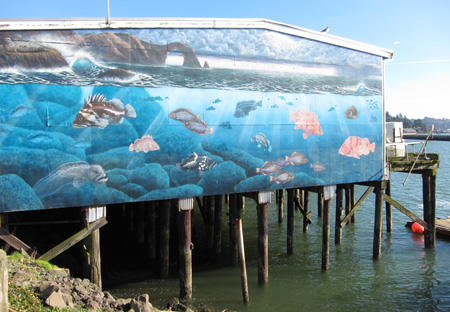
The negative above (and that goes with the print) actually had more exposure than the negative to the left. Both were 1 second, but f/5.6 and f/8, respectively. The difference in density is from the development. Defender at 1½ and 3½ minutes.
Here's a situation that benefits from colorblind emulsion. The shadows under the dock have luminosity, and the mural elements are set off. To make the print, I applied 'auto levels' and then came in and used the 'burn' tool on the mural. More time and/or Photoshop sophistication undoubtedly could have pulled more detail from the negative.
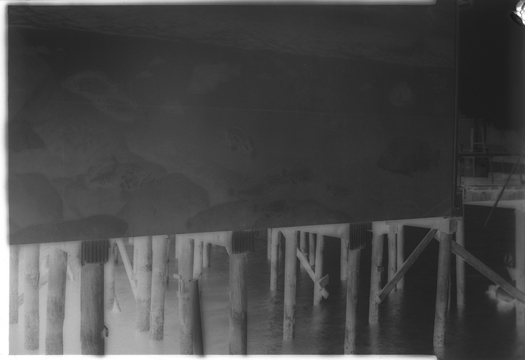
Below is a case of even more density control. Both negatives were exposed identically: f/11 and 20 seconds with a medium yellow filter. The denser negative was developed in Defender for 5 minutes. The other in a divided bath of Defender for 1 minute, followed by 2 minutes in D23, 1:2, with constant agitation.
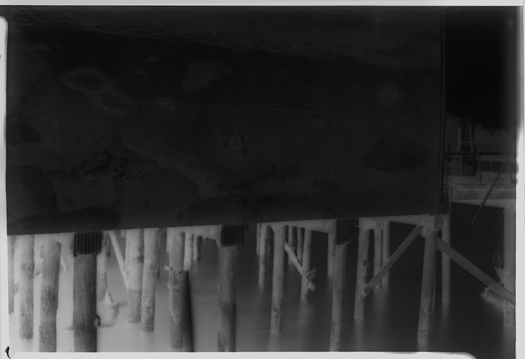
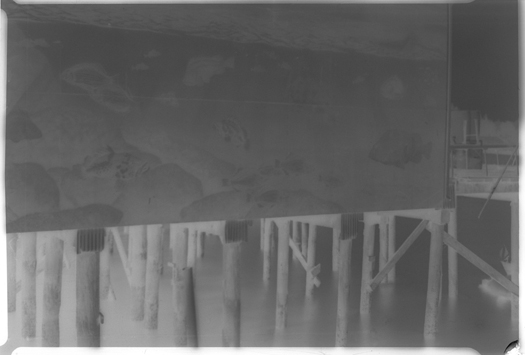
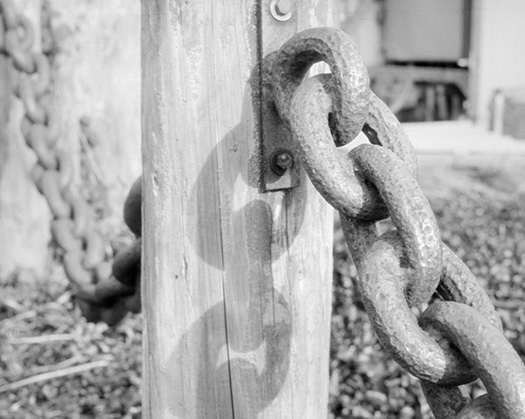
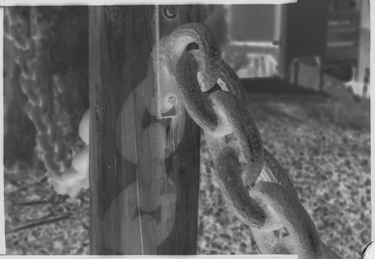
Finally, an "auto levels"-only comparison.
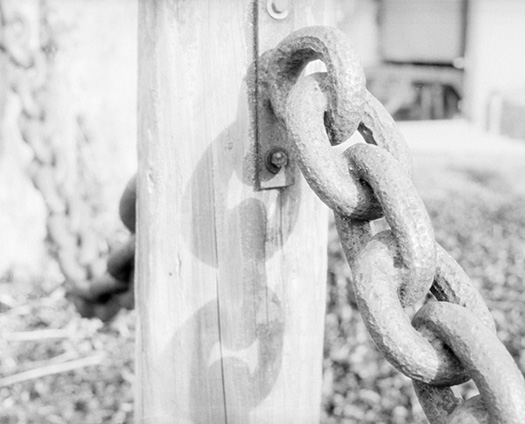
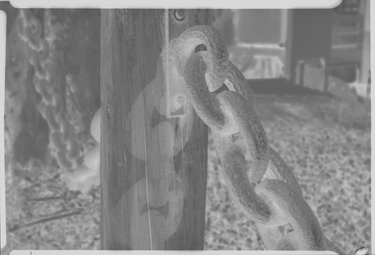
f/8, 1 second. No filter. Defender for 5 minutes.
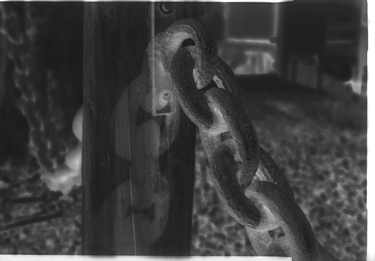
f/11, 1 second. No filter. "Defender" for 1½ minutes.
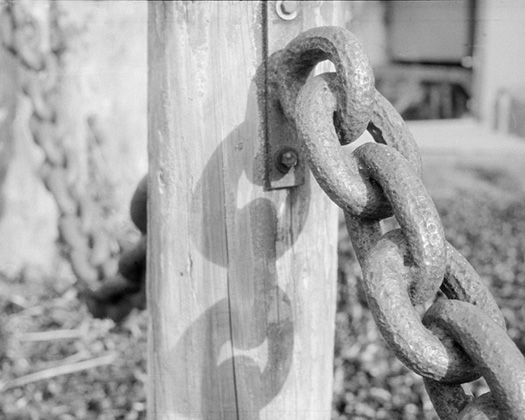
f/8, 1 second. No filter. Defender for 1 minute, followed by 2 minutes in D23, 1:2, with constant agitation.
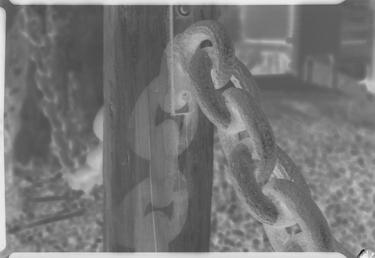

f/11, 1 second. No filter. D23, 1:2, for 7 minutes with constant agitation.
This is a particularly pretty negative. The rusty iron chain is all glowy, with only the barest hint of irradition. I'm going to chase down further this treatment.
D23 Developer.
Water (125F/52C), 750 ml
Metol, 7.5 g
Sodium sulfite, 100 g
Water to make 1 liter.
Without replenishment, and with dilution, I treat this as a one-shot developer. Using a replenisher makes this a very frugal developer. See The Darkroom Cookbook, by Stephen Anchell, for all the details.