TLF Tutorial Workshops


 Site Index 


12. Dry Plate—Getting Started

We are building on the tools, materials, and techniques outlined in the Gaslight Paper tutorial. The tools, materials, and techniques for dry plate listed here are an addition to that information (with some redundancy for clarity). If you are new to The Light Farm and this series of web workshops, I would suggest you start at the beginning with paper. Even if you really aren't interested in making paper, please read the paper tutorials carefully and refer back to it as needed.
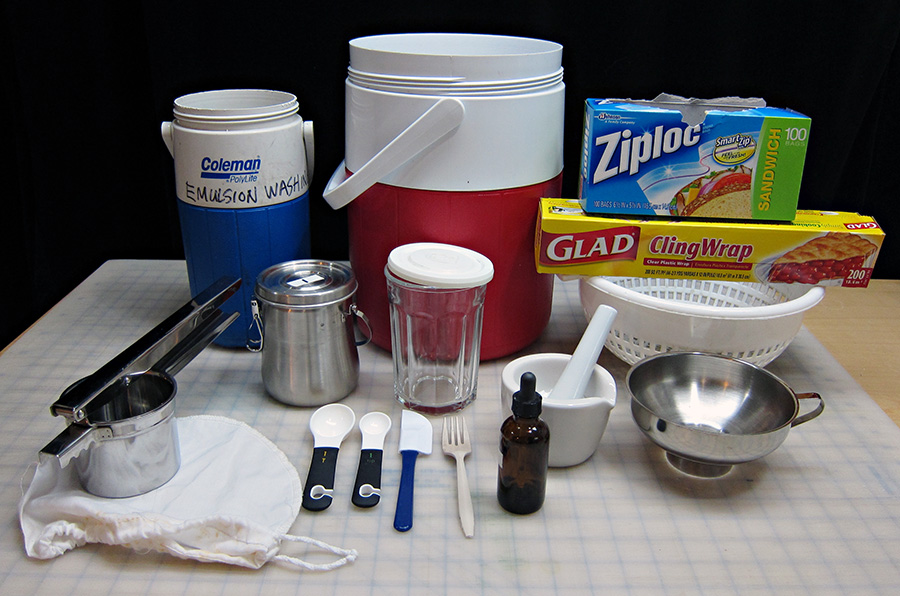
TOOLS & MATERIALS

  • Two thermos containers
  • Plastic sandwich bags
  • Plastic wrap
  • Colander
  • Stainless steel potato ricer
  • Lightproof container
  • 400 ml beaker, or similar
  • Mortar and pestle
  • Wide mouth funnel—stainless steel or plastic
  • Jelly straining bag, or similar
  • Tablespoon (15 ml) and teaspoon (5 ml)—plastic, round bowled
  • Rubber scraper
  • Plastic fork (if you use a magnetic stirring plate) or
  • Stainless steel whisk (if you mix by hand)

  • Amber dropper bottle
  • Distilled water
  • Potassium bromide

  • Potassium iodide

  • Silver nitrate

  • Photographic gelatin

  • Everclear

  • Crushed ice
  • Photoflo 200, or similar wetting agent for treating negatives before drying

  • Glass and tools to cut it and to smooth edges

  • At least one plate holder to fit your view camera, and/or

  • Grafix brand Dura-lar for Wet Media, a puddle pusher, a sharp cutting blade (a rotary cutter works best), and at least one film holder.


Copyright © The Light Farm