18. Film, part 3 |
|
|
|
COATING FILM—Many Options |
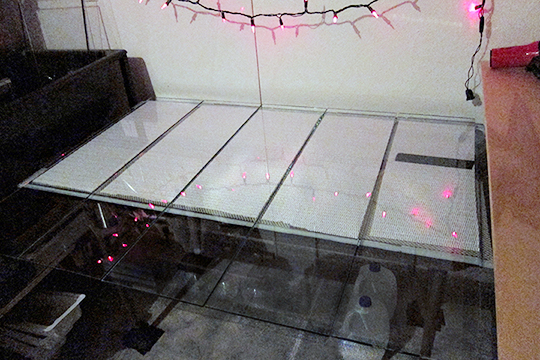
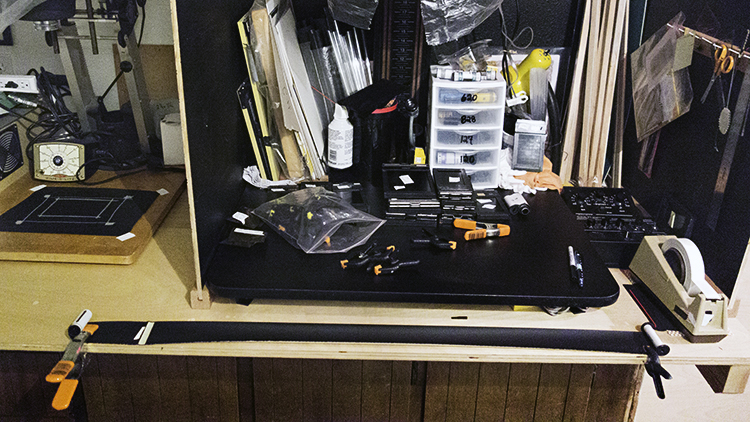
Coating table set up with removable 10"x 36"x 3/16" glass sheets. |
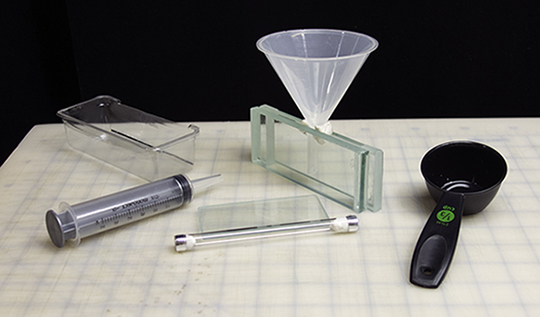
Coating tools: mix and match to taste. |
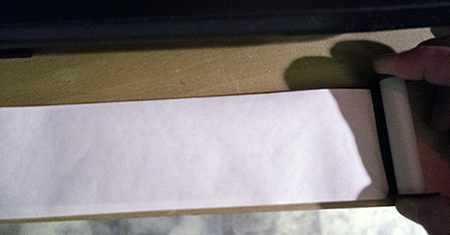
One goal. Two different ways to go. Note: I used freezer paper to illustrate the emulsion. The appearance of a dried strip of emulsion is almost identical, except that a bromide emulsion is faintly yellow rather than white. Note #2: 5-inch puddle pushers are best used for 4"x 5" and 5"x 7" sheet film. 9-inch puddle pushers are used for 4"x 5" (two sheets, 4" wide, cut from a 5"x 8" piece, Whole Plate (6.5"x 8.5"), and 8"x 10". 12-inch puddle pushers are used for 11"x 14" film negatives. |
|
|
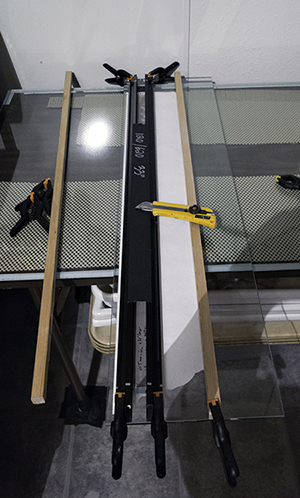
CUTTING STRIPS OF FILM |
|
|
|
|
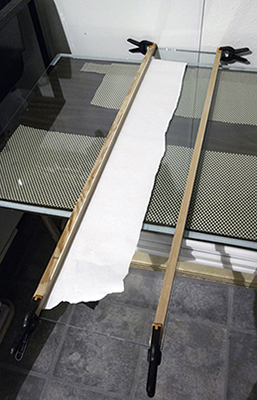
ROLLING THE FILM |
Everyone's work space is different and requires slightly different strategies, but the basics are the same. You need clean and convenient. |
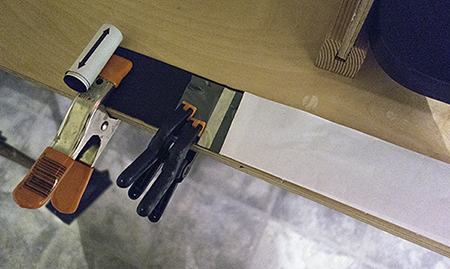
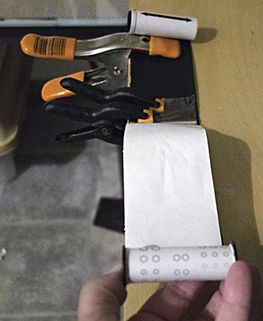
Now, stretch out the film toward the spool and hold it in place with a weight or clamp. |
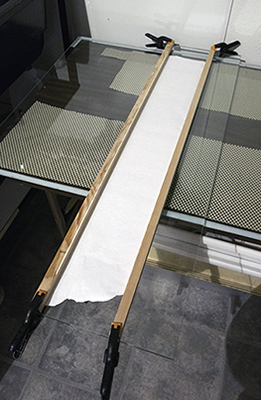
Remove the spool-end clamp. Grab hold of the spool and pull the roll taut. Tightly roll the backing paper until it just catches the end of the film. If things move on you, your clamps aren't strong enough. |
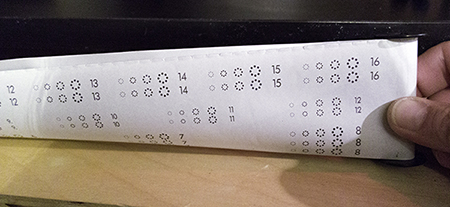
Turn over the backing paper and see where the numbers are. If your strip is shorter than the format, you can see how many exposures you'll get on that roll. Make a note. This information will follow the roll of film from now until processing. |
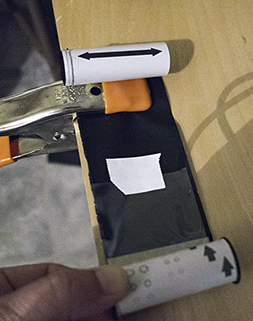
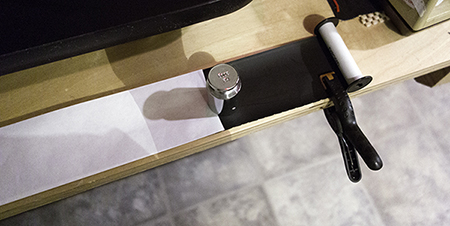
Roll up the film. The only "trick" is keeping the film from scooting sideways off the backing paper. You'll avoid this if you roll with two hands while pulling straight back from the head clamps. Roll tight. When you're done, you'll need to have the roll a little bit narrower than the ends of the spools. If it isn't, unroll everything and start over. When you get to the end, remove the clamps from the film, but not from the backing paper. The emulsion should now line up with the attachment point (more or less). Tape the film to the backing paper. I use white artist tape. Remove the last clamp and finish rolling. Fasten the leader end to the roll with a small piece of tape. |

Put the film it its own bag or box and label it with a piece of tape. Record the recipe name, the date made, and how many exposures are on the roll. When you load your camera, transfer the information tape to the back of the camera. In most respects our handmade and rolled film is treated just like commercial. An exception: our film shouldn't be stored or loaded and unloaded in bright light. A roll of commercial film is manufactured to be used once. When the machines are rolling the film, they manage to crimp the edges just enough to keep light out. When we re-use a roll of backing paper, the crimping is gone and light can pipe (leak) into the edges of the roll. You'll know light piping has happened when you develop the roll and the edges are black. This doesn't mean you have to have a darkroom to change film. Just be aware of the issue and experiment with your solutions. |
|
35mm cameras and film There is additional information about 35mm cameras and film at the bottom of page 5, "Film," on the home page slide show Handmade Silver Gelatin Emulsions—A Review. |
|
Continued... |