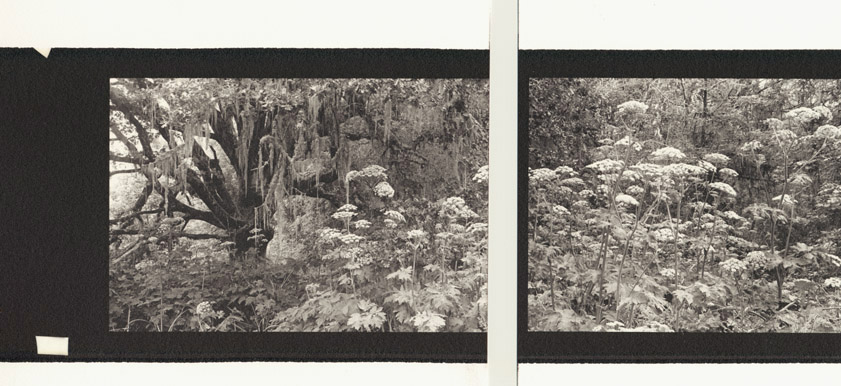
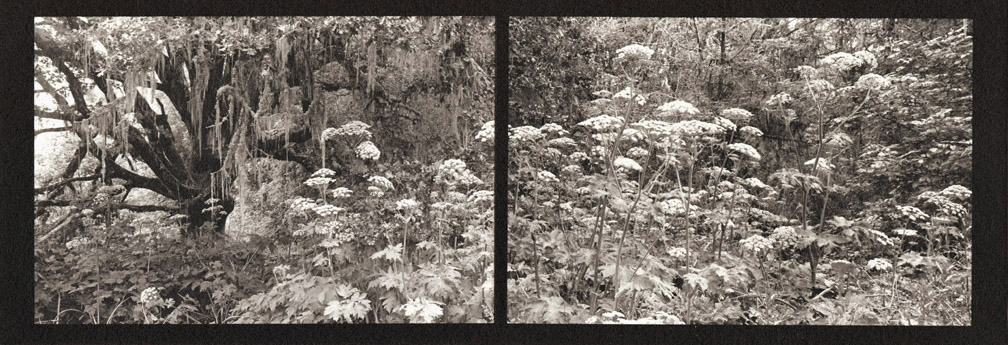
'Secret Garden'
There are three main routes to creating panoramic images: 1)
Contact printing negatives and living with their original sizes 2)
Physically joined panels (diptychs and triptychs or 3). Digitally
merged negatives. For a bit more on that please
go here.
For the diptych option
I scan 120 film 6x17cm
negatives on a Nikon Coolscan 9000. Since it only scans up to 6x9,
I scan in two slightly overlapping passes and make two separate
negatives and prints.
I have recently upgraded to Photoshop CS2 with its Photomerge plug-in, but I haven't yet decided if I prefer diptychs or single panoramas for my images. It's wonderful to live in a time when the decision is an option. (For more information about digitally stitched panoramas, please go here.)