 |
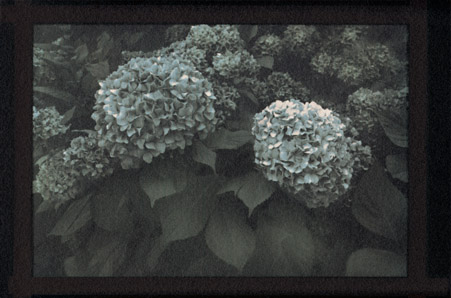
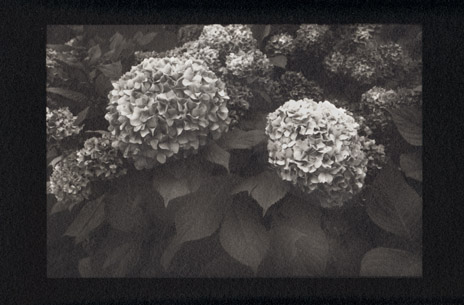
B&W silver gelatin 'K' layer.
'Warm ♥' emulsion on Fabriano HP Extra White watercolor paper.
This emulsion was made with a low tech recipe (Hershey's Tornado). For more information, please go here.
Silvergum PrintingBasic 3-Color |
|
Digital negatives from Pentax K10 digital file. B&W silver gelatin 'K' layer. 'Warm ♥' emulsion on Fabriano HP Extra White watercolor paper. This emulsion was made with a low tech recipe (Hershey's Tornado). For more information, please go here. |
|
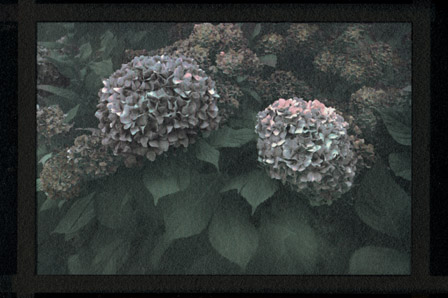
Blue layer: 0.4 g Prussian Blue and 0.5 g Verditer Blue (Daniel Smith watercolors) in 20 ml gum arabic solution (Daniel Smith brand) and 25 ml 15% potassium dichromate solution. A Blue layer tip: When the pigment load on the brush is right for coating, I quickly give the bristles a few spritzes of Everclear and immediately brush the paper. This seems to improve the smoothness of the layer. |
|
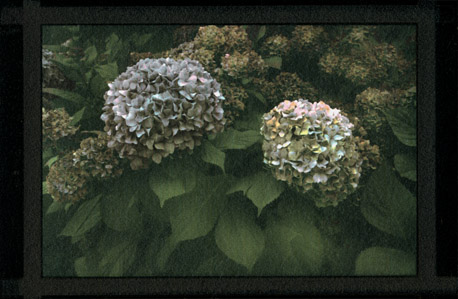
Red layer: 0.7 g Quinacridone Rose and 0.2g Rhodonite Genuine in 20:25. I run 1/4-inch wide polyester film tape (3M #850) around the edges of each color separation negative. This preserves the clean black emulsion as a border around the final print. |
|
Yellow layer: 1.1 g Hansa Yellow Medium in 20:25. If, at this stage, the print still needs color adjustments or additional density, more layers can be printed, but new negatives are advised because the print won't be the same size it was on the first layer. |
|
There's hardly an art form that has more potential for creative expression than gum bichromates. I've settled for now on a pigment set I like, but there are dozens of three-color combinations possible and countless single colors. You aren't constrained to color separation negatives. Sensitized pigment can be brushed on freehand, as long as it's applied in a thin, even layer. And, of course, a single color can be used over the silver gelatin print. Negatives can be made in a number of ways; from scanned film transparencies or negatives or from digital camera files. And, there is always the pre-digital method of in-camera separations. |
|
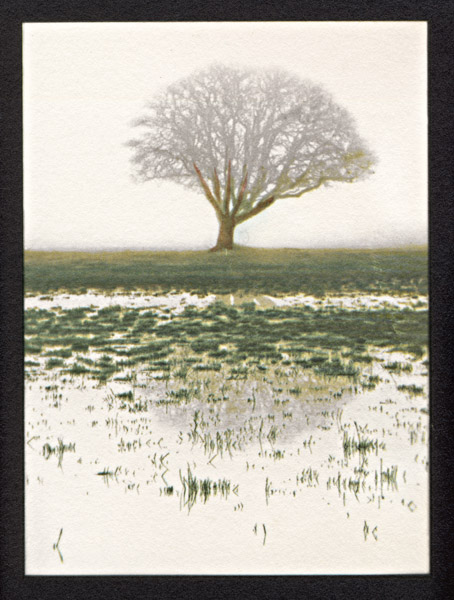
A digital negative set made from a scanned handcolored b&w print (dyes over Ilford Multigrade glossy). The original enlarged print is from a 5"x7" b&w negative. Only the blue and yellow layers are from color separation negatives. The tree trunk and lower branches were hand-painted red with a fine brush as a final step. Tip: Don't needle-spot the black and white print before applying the colored gum layers. The pigment will sink into the bare paper and stain. The color layers will cover all but the biggest peppers, but if need be, they can be carefully spotted out after the last color layer goes on. I generally use any flawed prints as test prints. |
|
Replace This Text in js
Replace This Text in js
|
Copyright © The Light Farm |