4. Getting Started—Contact Printing |
|
The first recipe in the series will be a contact printing paper. It is the type that used to be called "gaslight" because it was so slow (relatively insensitive to light) that printers could work by the light of a gas lamp—the type of lighting in most buildings of the time. It is a developing-out paper. "Developing out" is the printing paper photographers of the last many decades have been most familiar with. The image doesn't appear until the exposed print has been put in a developing solution. This makes it different from printing-out paper, a.k.a. POP or P.O.P., the type that preceded developing-out paper. With POP, the image becomes visible during exposure. Only when the desired density has been reached is the paper put in the processing solutions to fix and tone. A chemical developer step is not required. If you are planning on printing with film negatives—either traditional silver gelatin or digital/inkjet—you'll have no trouble buying a new contact printing frame. Modern frames (at least all that I know about) are made an inch bigger all around than the standard formats. A frame to print an 8"x 10" negative is 9"x 11". That works great for printing negatives. You've got plenty of room to maneuver so you don't have to cut your paper to a precise size. But, if you are planning on printing glass plate negatives, you need a frame that is the exact size of the negative, because the plate replaces the glass in the frame. |
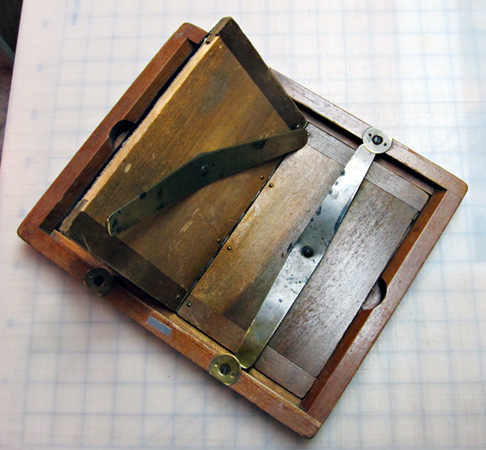
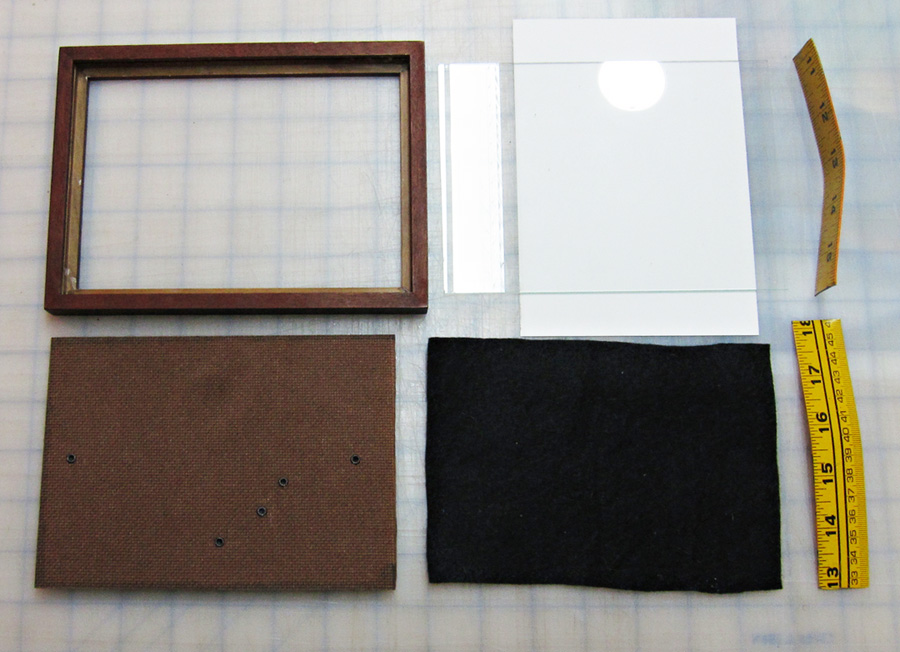
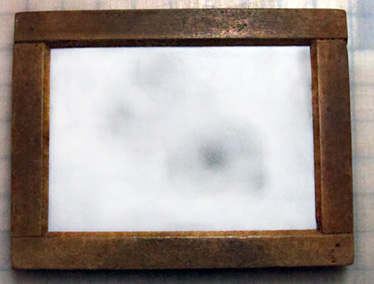
A traditional contact printing frame has a hinged back. It is designed this way to be used for printing-out papers, including silver gelatin POP. The hinge makes it possible to check the progress of your exposure without disturbing the registration of negative and paper—open one half only, check, and then close again if necessary. It's easy to make a printing frame. The pieces below are a craft store 5"x 7" wood picture frame, the glass and backing board that came with it, and my addition of a piece of black felt and two pieces of steel that I cut from a yard stick. |
|
|
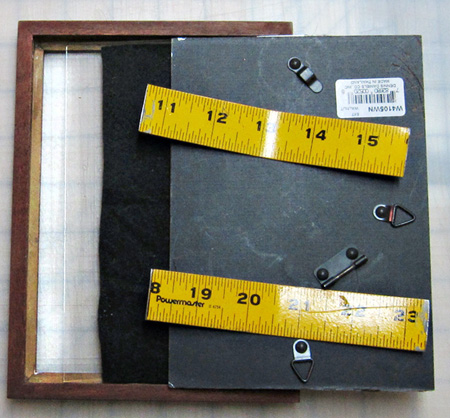
The frame is assembled frame, glass, (negative and paper, emulsion-to-emulsion), black felt, backing board, and pressure bars. The steel strips are bent just a bit in order to exert pressure on the backing board when they are inserted under the edge of the frame. If the wood pieces of the frame were wider, you could attach metal washers for holding the pressure bars (like with the antique frame above). Bolts attaching the pressure bars to the back aren't necessary. They mainly keep you from losing the pieces. |
|
It is hard to find 4"x 5" frames. Luckily, 5"x 7" or 5"x 8" frames work fine for printing 4"x 5" glass plate negatives. Just position the plate along one side of the frame. It's sufficient for the plate to be supported on three sides. Put a blank sheet of glass in the empty spot for the backing to push against. If it is hard to find a specific size frame locally, it is easy to special order custom wood frames. Blick Art Materials has a good selection. Best bet, of course, is a simple and sturdy style. If you keep your eye on Ebay, old printing frames come up on a regular basis. Some are filthy, or missing glass, but all those that I have bought were built to last, and they have cleaned up beautifully. |
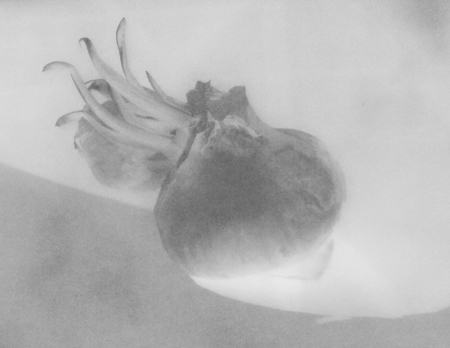
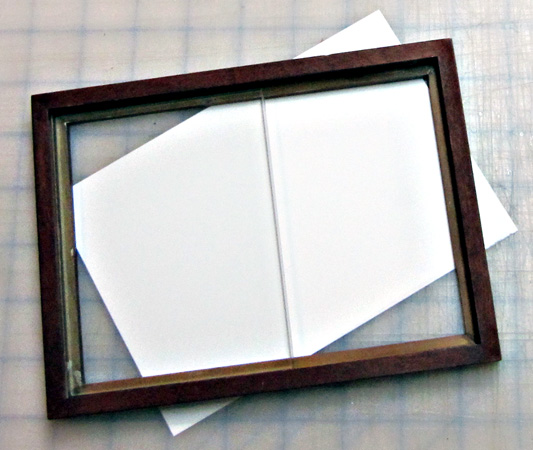
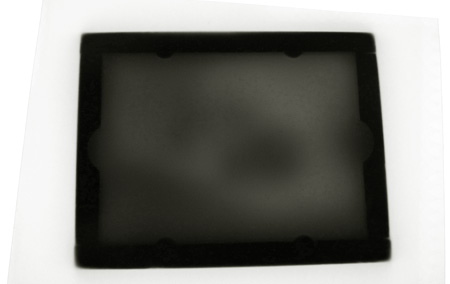
Contact Printing Tip I standardize every exposure to the addition of a sheet of Yupo paper. When the printing frame goes under the light bulb, it has sheet of Yupo on top. Any semi-transparent paper would work. This plate of an onion is a little thin. Thin is a good thing, by and large, if all the information you want is there. A thin plate (from both exposure and processing) is usually sharper. Avoiding over-exposure helps avoid halation and irradiation. (For more information on this please go here.) But, a thin negative can be a little flat (low contrast). Or, of course, your original lighting might have been flat. To a certain extent, contrast can be manipulated during development, but an excellent tool when needed is the contrast control mask—and this is where the Yupo habit comes in. Below: I photographed the frame and Yupo on a light table to illustrate the opacity of the Yupo. If you decide you want to mask a plate or negative, you just have to smudge carbon pencil on a piece of Yupo—cut to fit and registered with the negative. Voila. Highlights bumped up without having to figure out a new exposure. There are additional instructions for making and using masks in The Light Farm book. |
|
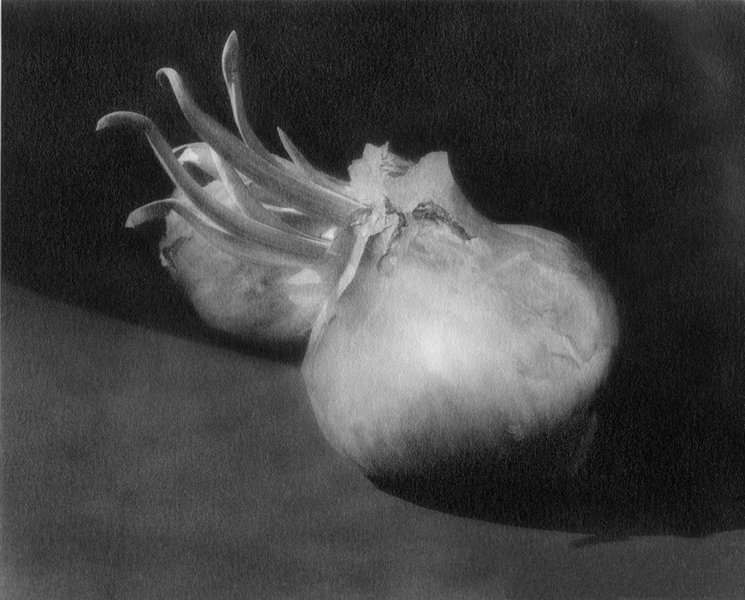
'Onion #1' Whole Plate (6.5"x 8.5") dry plate, contacted printed on handmade silver gelatin paper. |
|
|