6. Getting Started—Tools and Materials |
|
|
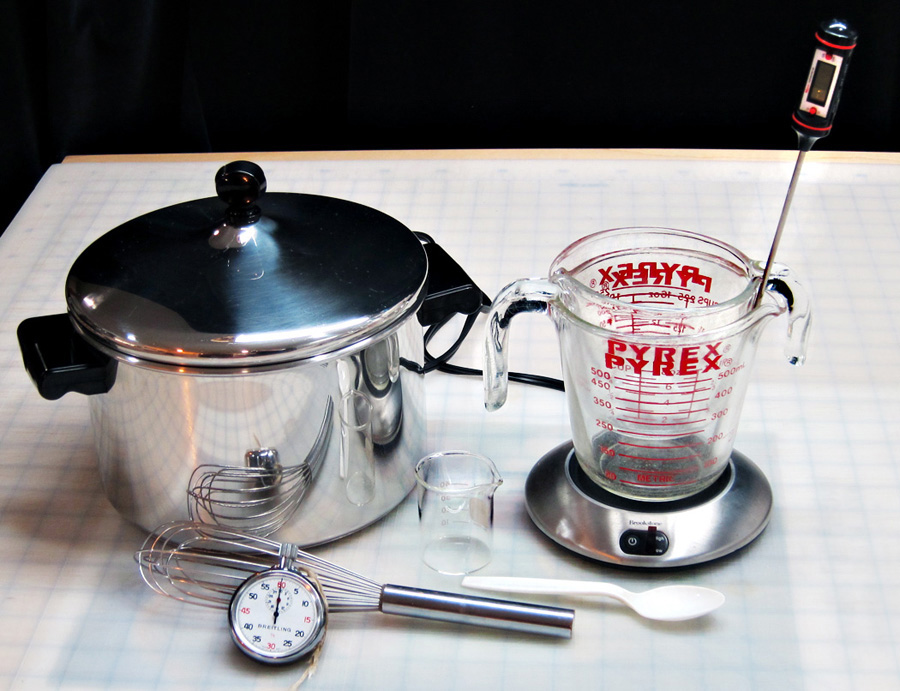
OK, time to get down to it and make a shopping/scrounging list. Don't be intimidated by the length of the list. Almost every item will be used again and again with many different recipes—along with the addition of a few more chemicals and perhaps more lab equipment. Remember to think in terms of purpose and function, not exact form. The set-up shown above will be used for the first emulsion recipe. The first recipe calls for 3 g of potassium chloride, 5 g of silver nitrate, and 25 g of gelatin. That should give you an idea of the quantities you'd like to order. I use 2½ sheets of 22"x 30" watercolor paper per batch of emulsion. That's assuming ten 11"x 15" individual sheets, coated with a 9-inch puddle pusher.
|
|
A Few More Notes If you keep at this, you'll probably end up with a collection of graduated cylinders. They are not expensive, they are very handy, and who could resist? They are very nifty. But, you don't technically need one. The great thing about water is that it is the "baseline" for weights and volumes. 1 ml (milliliter) of water equals 1 g (gram) of water. So, if you need 100 ml of water, you can weigh out 100 g of water. The first recipe calls for 15 ml Everclear. I always measure it out in a 25 ml graduated cylinder, but 15 ml is the volume of 1 tablespoon or 3 teaspoons. The recipe isn't so finicky about the Everclear that you couldn't just use a kitchen tablespoon. 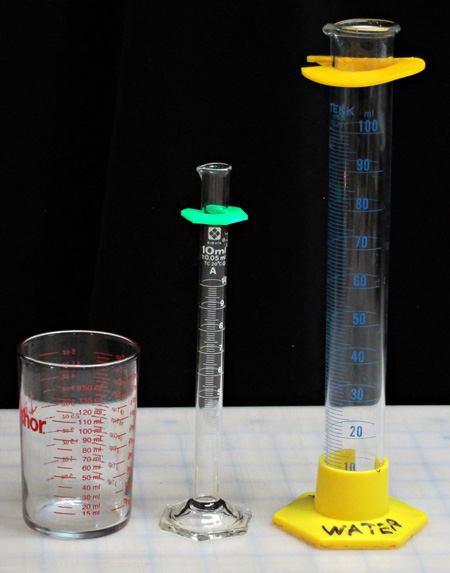
A running joke among my family and friends is that I always have my eyes open for something that could be used for making emulsions. Kitchen stores, hardware stores, secondhand stores—all potential sources of great gadgets. I bought a half dozen small rubber scrapers at a local hardware store in Minnesota that I couldn't be without. During a Christmas shopping, I found a little gem made by Anchor brand. It's a graduate for the kitchen, marked in mls up to 150, ounces, and tablespoons. I calibrated all the ml markings against a lab graduate and they were spot on. It cost $1.89. I've started using it for a lot of measuring because it's short and heavy-bottomed, making it very stable. Many of the things I've found haven't been worth the space they take up and it's been off to the Humane Society thrift store for them. This is the way it will be for you, too. You will start from the list I've made of things that work for me, but you'll soon start to make your own list—one that fits your art and workflow. |
|
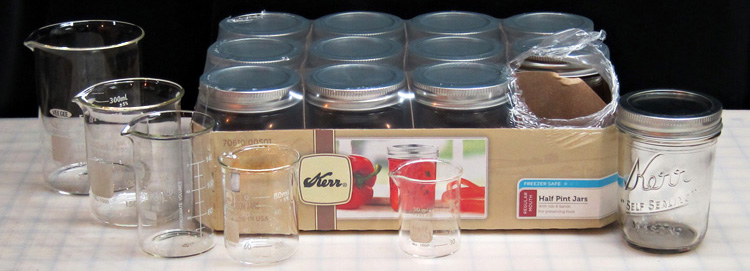
One last thing: If you already have a magnetic stirring hot plate, or if you are so sure you'll be going forward with emulsion making that you're ready to invest in one now, you can certainly use it as your heat source. If you want to use magnetic stirring to make the emulsion, you will need a different waterbath set-up than stacked Pyrex cups. They are too thick for the magnetic fields of most stirrers to affect the stirring bar. You'll want either a 250 ml glass beaker, an 8 ounce canning jar, or similar. The first recipe will have two variations: one for the set-up shown on this page and one for a magnetic hot plate. |
|
|
|