"X2Ag" in the Snow—This, That, and the Other Thing
February 24, 2012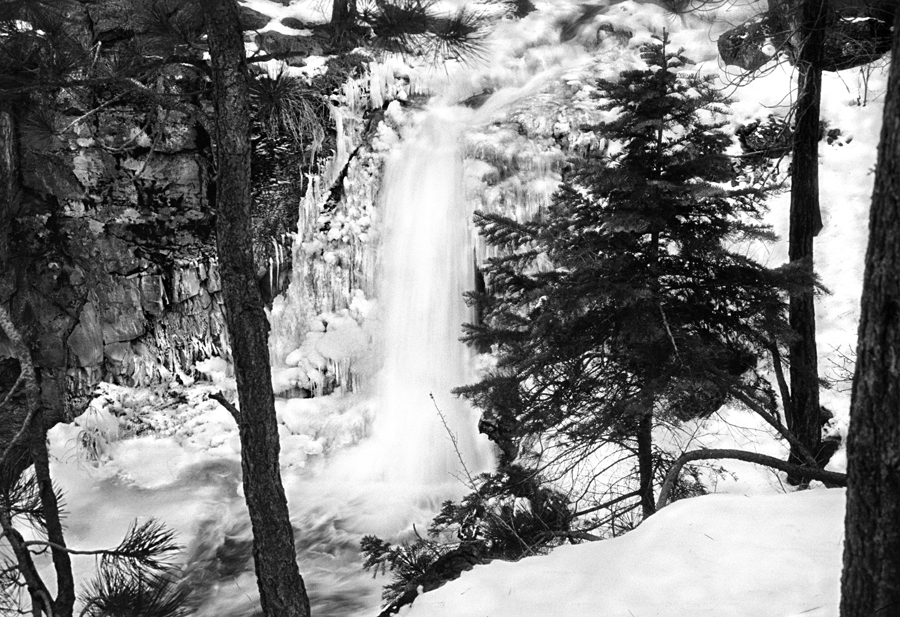
McKay Crossing Falls, Deschutes County, Oregon
Photographing in the snow is a trick, no matter the materials or technology. Truthfully, I've never been particularly successful even with modern film. But, it is something I've always wanted to master. I love frozen water. I'll keep plugging away at it. The nice thing about testing film is that you've got a ready-at-hand excuse to just play around and have fun!
The day was heavily overcast and threatening snow. In addition, the falls only see direct sun mid-day in the summer. So, a dark situation, made a bit brighter by the snow. Except for a loss in speed potential, this is actually a good situation.
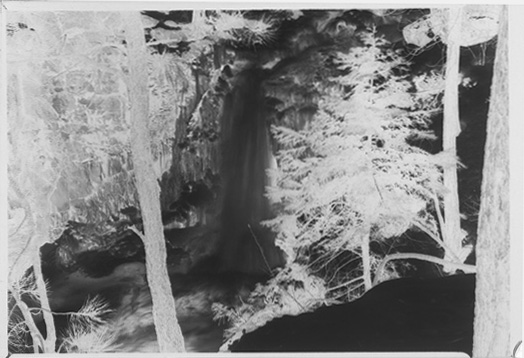
The exposure for both these negatives was f/22, ⅛ second, no filter with orthochromatic-sensitized film. 2¼ x 3¼ inch negatives.
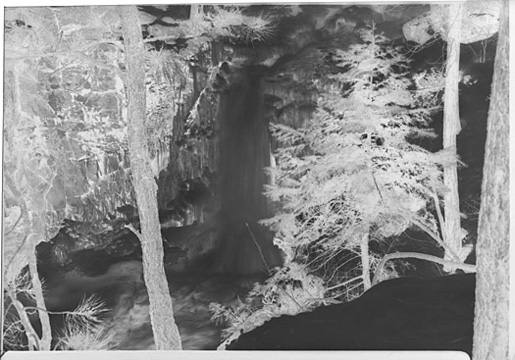
The difference in appearance is from development. The top negative was developed in Defender 55Dwr, undiluted stock, no BZT, for 7 minutes with agitation on the minute. The bottom negative (and the one for the print) was developed in a brew I dug out of my notes from thirty years ago and a camera club meeting in Flagstaff, Arizona. Taming contrast was the Holy Grail at that time, in that place. The old guys swore by it. ("Guys"? Yes, of course. "Old"? Probably younger than I am today. Golly.)
The developer is a variation on divided D23. Part I is 750 ml of water at 125°F/52°C, 7.5 g metol, 100 g sodium sulfite, and then water to bring the volume to l liter, more or less, depending on the exact bottle size. Part II is 15 g Kodalk balanced alkali (or sodium metaborate) in a liter of water. Density is controlled by the time in Part I. My standard procedure is one minute with agitation in Part I, followed by four minutes in Part II with agitation on the minute. No agitation risks uneven development. The five minute cycle is repeated as many times as necessary, but my experience is that you risk fog after more than about 15 minutes total. A nice bit of control is that after the first cycle, you can reduce the time in Part I for less contrast. There is no stop bath, per se. You use a divided fixing step—one minute in plain hypo with a splash of white vinegar, followed by 4-5 minutes in hardening fix, followed by standard washing protocol in water on the cool side (65-68°F).
Besides the excellent contrast control, there is an enhanced edge effect. The negative and print look like some form of sharpening has been done in Photoshop. That's to taste, of course, but I like it. There is a trade-off. Irradiation seems a bit worse than with Defender. But, as with all these things, I wouldn't consider making a 'pronouncement' to that effect until many, many more sheets of film have passed through my darkroom.
Continued...