"X2Ag" in the Snow, p. 3
February 27, 2012I'm still processing film. When I got home, I spread out all the holders with exposed film and my notes and started sorting the best I could figure to try to get a well-rounded interpretation of X2Ag. Trying to cram too many things into one short time/space isn't ideal. But, I do visit the mountains frequently, and I do want to do more snow and frozen water photography, so it's all good.
I've completed most of the "pulling"/contrast control tests. Next, I want to try a number of developers to see what kind of speed can be attained. But, the weather is turning nice, and I'm starting to come down with Spring Garden Fever, so an unscheduled experiment might just turn out to be how long exposed film can survive before it's developed. Photography shares my heart with gardening.
In the meantime, here's a grab bag of miscellaneous gleanings from so far.
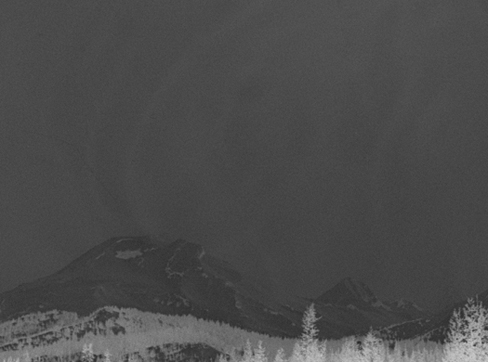
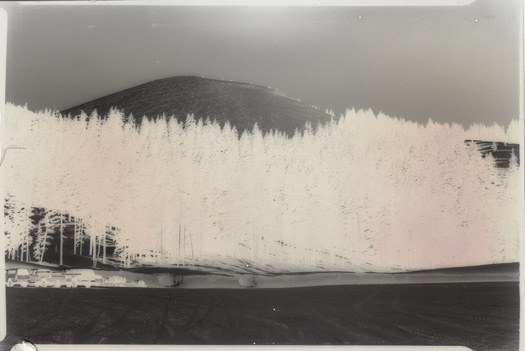
I developed this negative in D23/Kodalk for 10 total minutes, but without agitation in the Kodalk portion. The sky shows seriously uneven development, although an enlarged detail crop looks good. Now, I'm giving 5 seconds of agitation/minute in the Kodalk and getting very smooth skies.
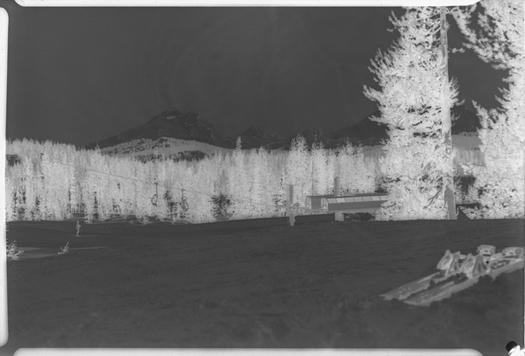
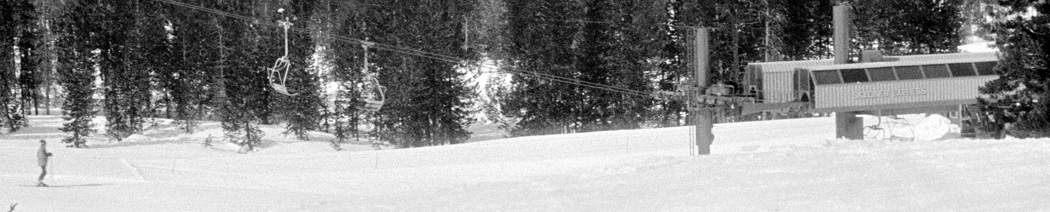
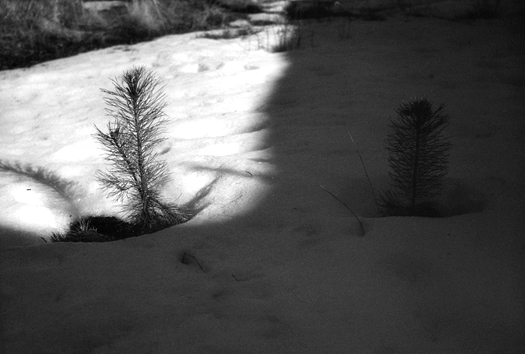
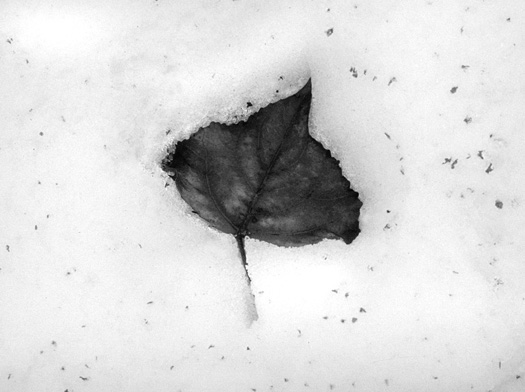
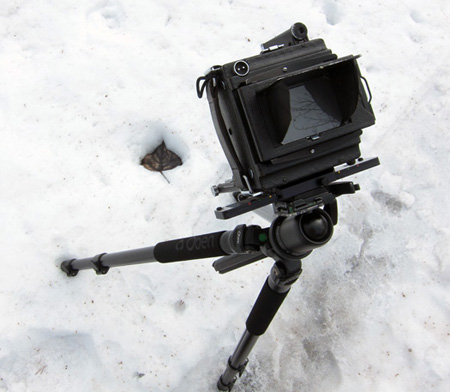
Another example of exposure without and with a medium yellow filter — both prints are crop/invert/autocontrast.
f/8, 1/125 sec. "Defender", 2:1, four minutes.
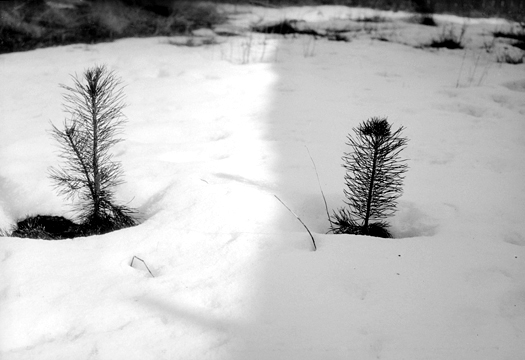
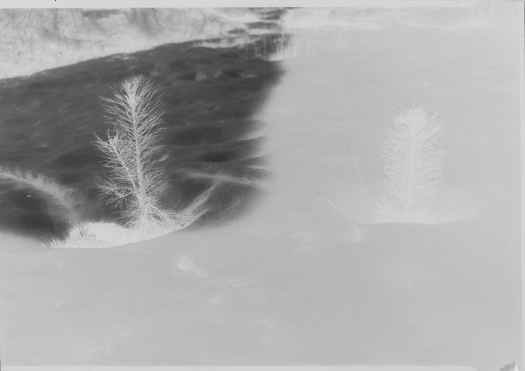
f/8, 1/15 sec, K2 filter, "Defender", 2:1, five minutes.
I'm getting a lot better at coating film. It really is just a matter of practice. Anything manual is. I think that's why the idea of a machine to do the job persists so stubbornly—expensive and impractical as the idea might be for most diy'ers in their home darkrooms. I use a "Puddle Pusher" glass coating rod with tape risers, pulled behind a glass emulsion well. (See here.)
Still, it's a handcraft so perfection is elusive. Fortunately, it is very easy to spot coating flaws after the emulsion is dry and you're cutting it up for loading. I haven't had comets for quite a while, but a few teeny, tiny bubbles still pop up. So do thin spots. Fortunately again, both these annoyances are usually near the selvage edges and are cut off. If flaws still end up on a piece of film, I set the holder aside in a separate pile to use for testing. I add a small Post-It note to the holder if it's good film in the center and will work just fine for a cropped subject. I'm also working at identifying the holders that have generous rebates with enough room to clip the film for drying without damaging the emulsion in the image area.
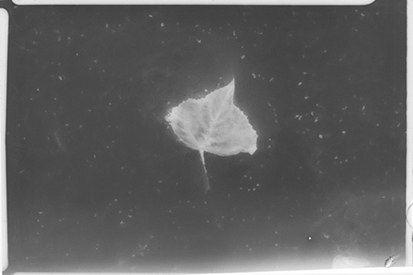
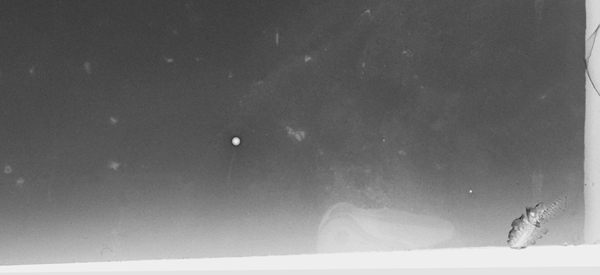
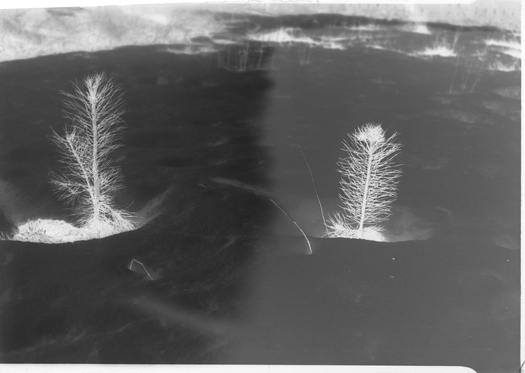
The really ugly pieces are guilt-free for testing. I rushed this piece through the stop and fix as soon as I got the information I was looking for. The sensitizing dye didn't get a chance to process out. I almost threw it straight away, but instead saved it as "Failfilm-to-Test Film."
To Be Continued (but probably not immediately).